Last updated November 21, 2026
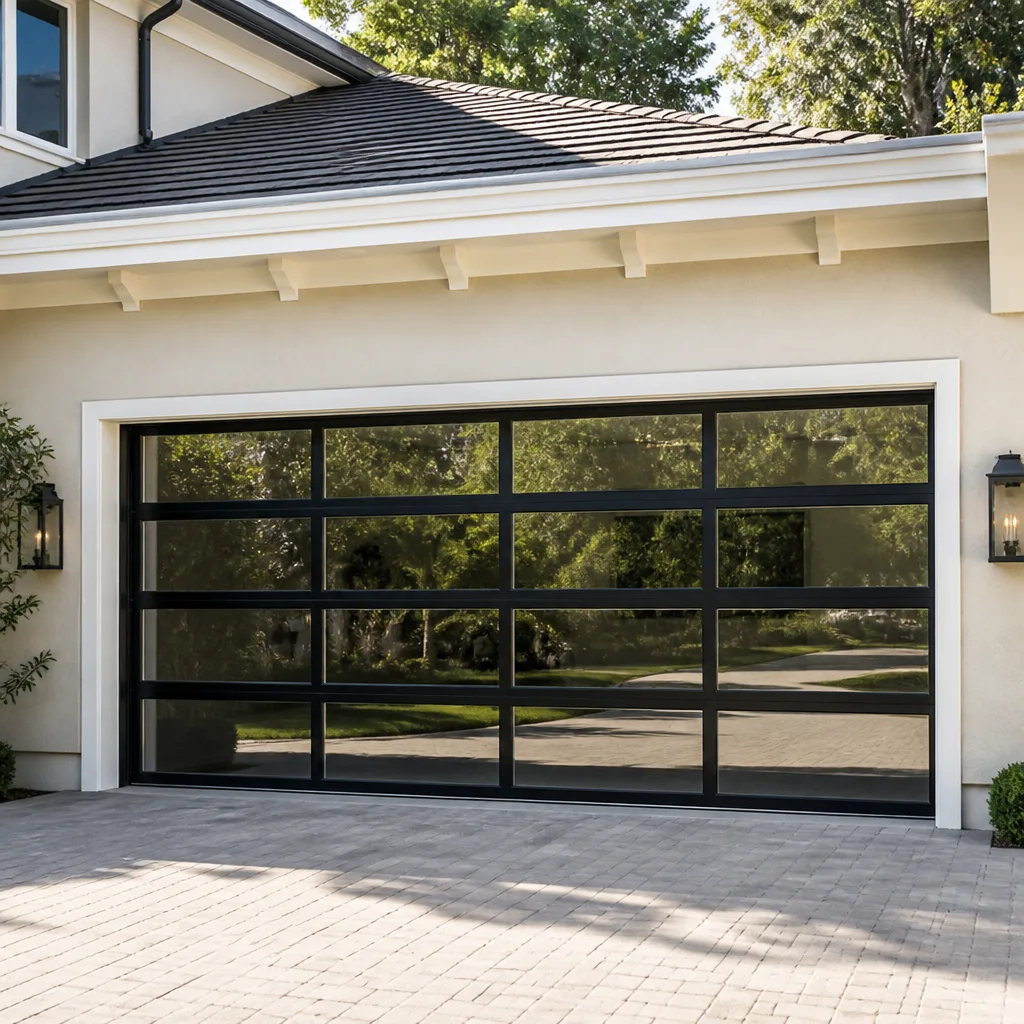 Full-view glass
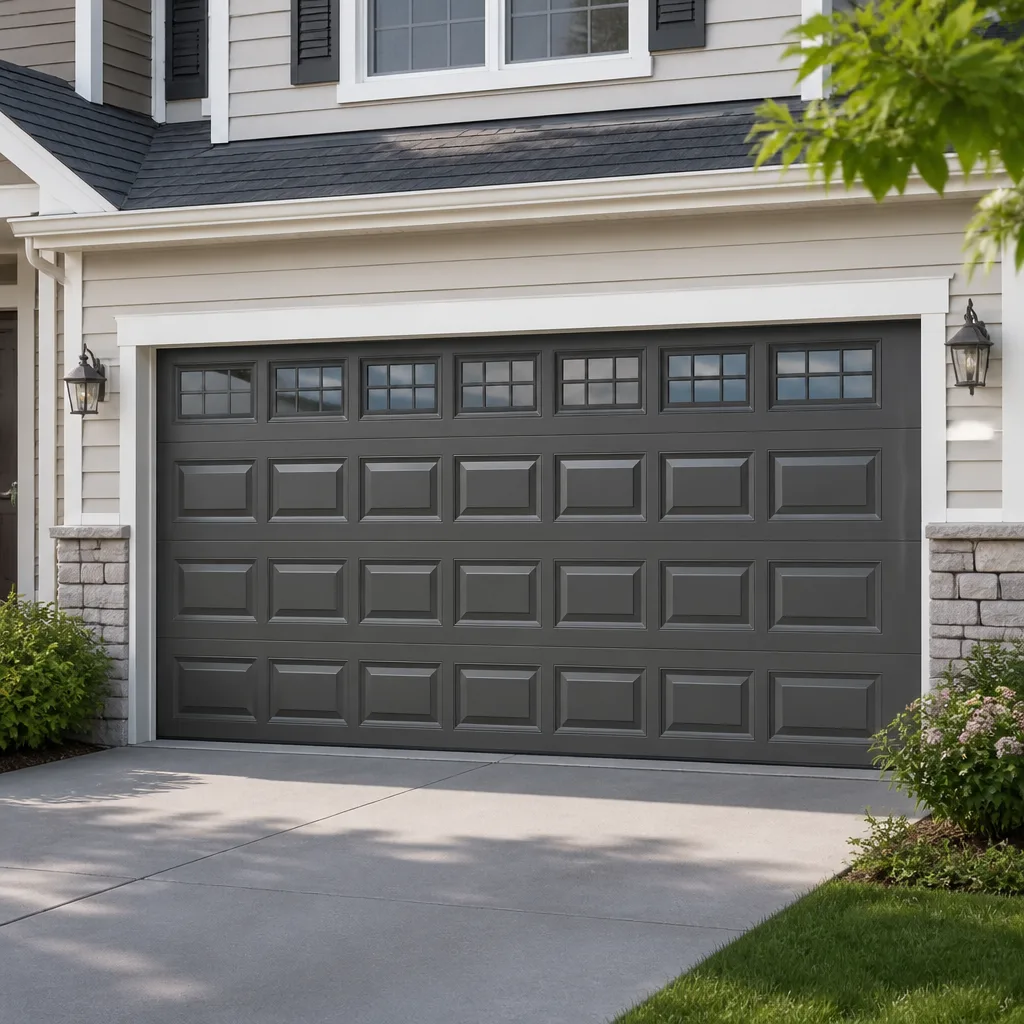 Raised-panel steel
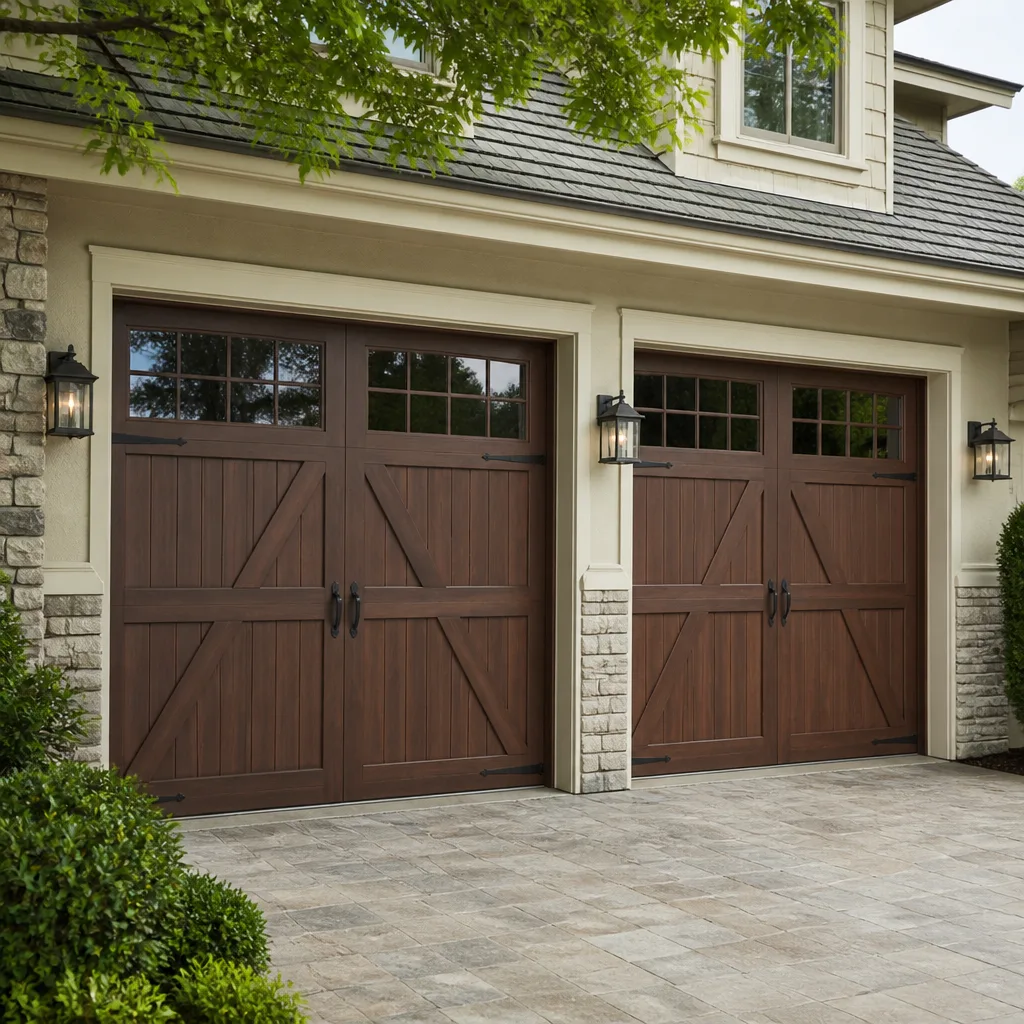 Carriage house
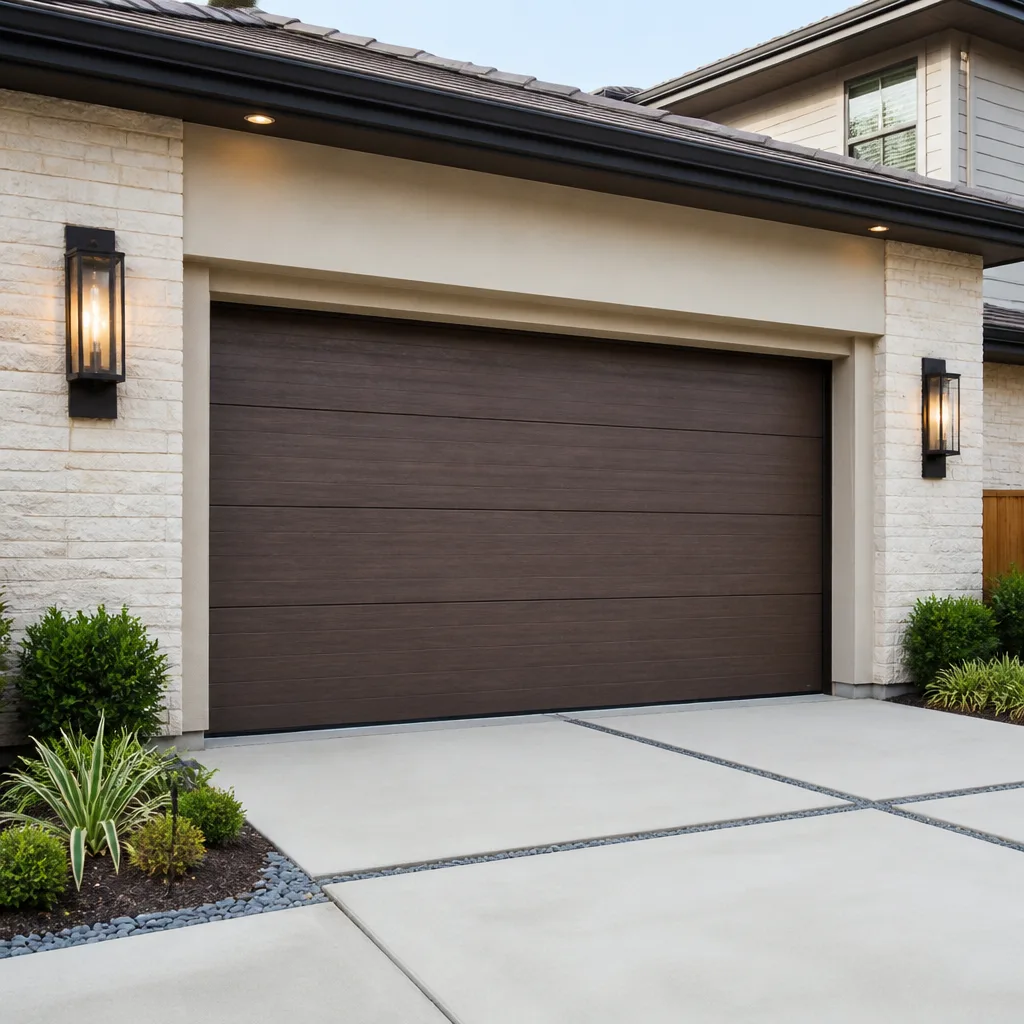 Modern flush
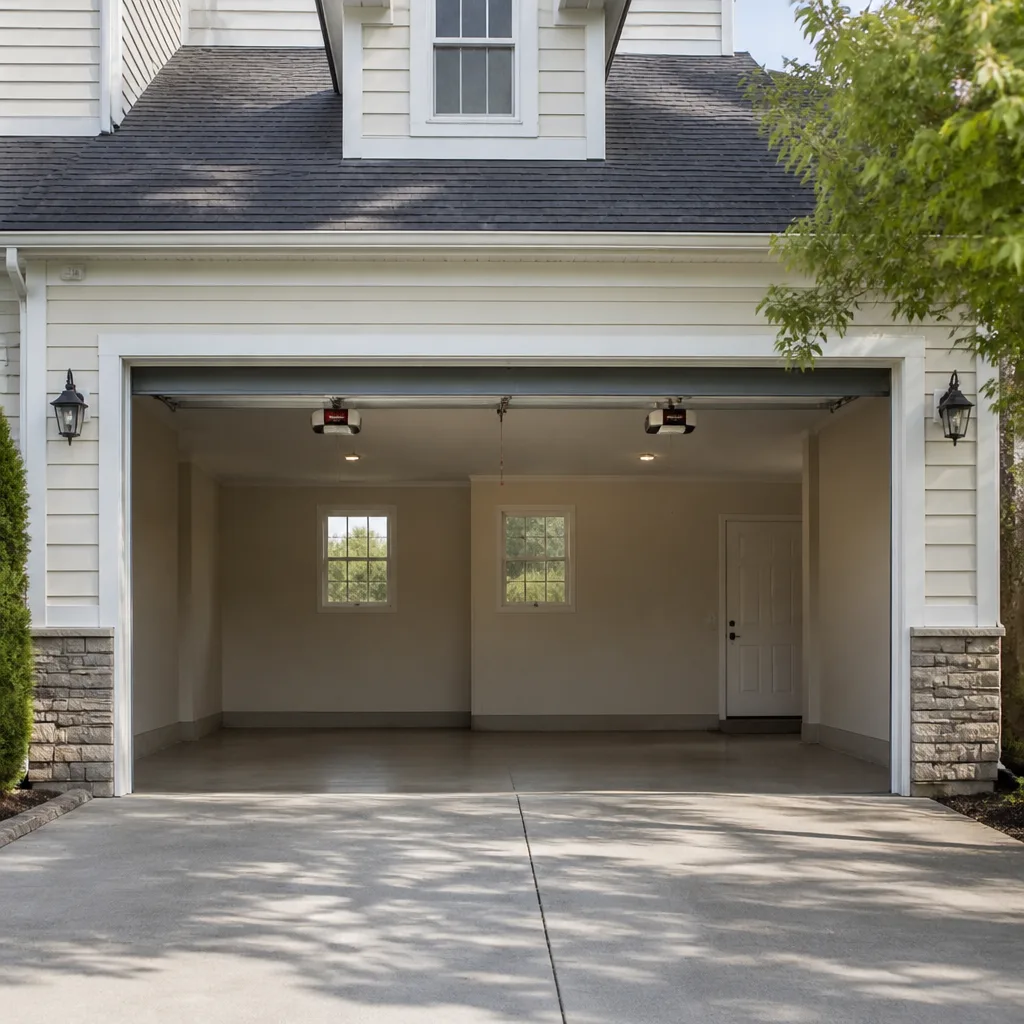 LiftMaster openers
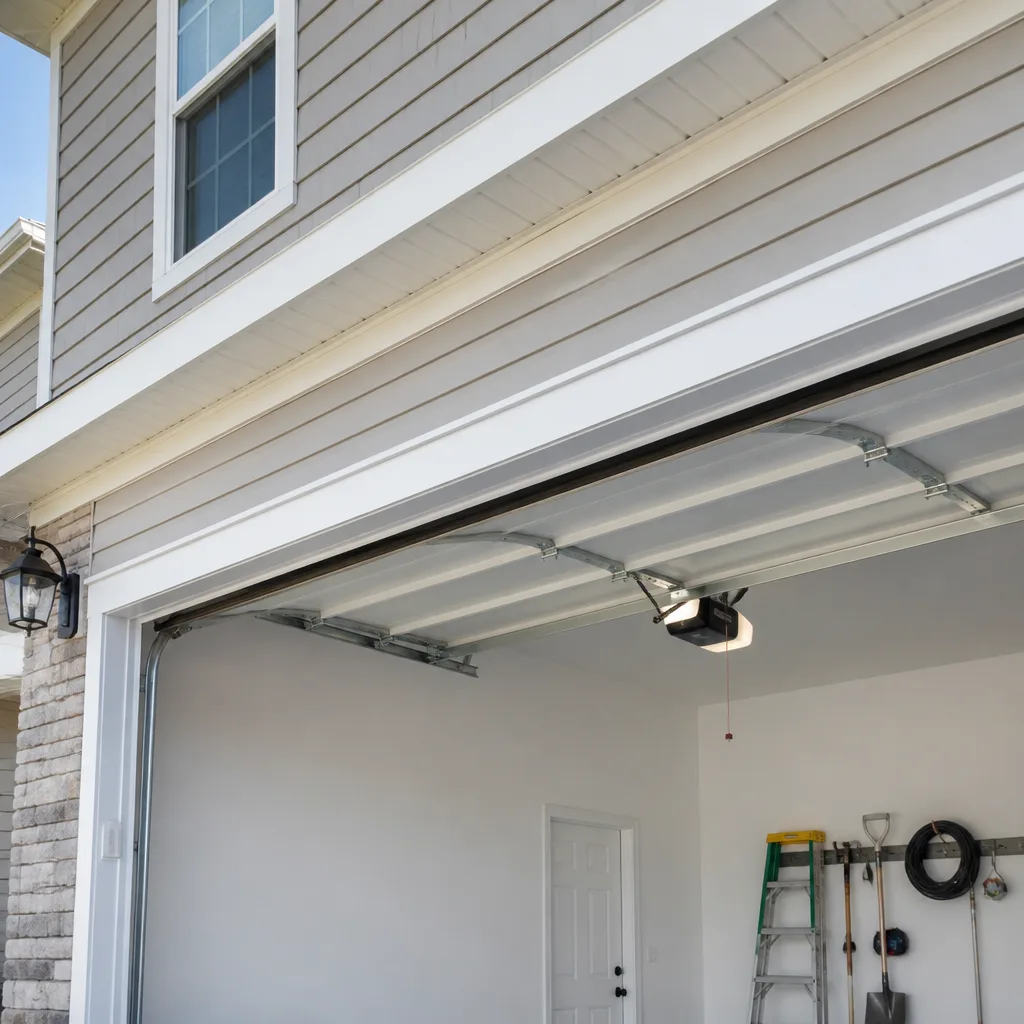 Chamberlain openers
Full 25-point door and opener safety check with every visit - springs, cables, rollers, tracks, and your LiftMaster or Chamberlain opener included
You get a price before we start. It does not change when the pro arrives.
Get your free estimateDIY vs Professional Garage Door: The Lake View Homeowner’s Decision Guide
Most homeowners in Lake View who search “DIY vs professional garage door repair Lake View IL” are really asking one question: can I save money by handling this myself? That’s a fair question, but it’s the wrong first question. A standard sectional garage door weighs somewhere around 300 pounds and hangs on a torsion spring system wound under hundreds of foot-pounds of torque. The eight-minute YouTube video that makes spring winding look routine is not showing you what happens when the winding bar slips out of the collar. This guide breaks the job down task by task – what’s genuinely safe for a careful homeowner, what isn’t, what a real DIY tool list costs, and how an unpermitted installation can follow you to a home sale – so you can decide with clear eyes instead of guesswork.
Quick Answer
A professional garage door company is the right call for anything involving torsion springs, cables, bottom brackets, or a full door and opener installation, because those components store enough energy to cause fatal injury and the work usually needs a permit in Chicago. Weatherstripping, painting panels, lubricating hinges, and aligning safety sensors are genuinely safe DIY tasks. Everything in between is a judgment call we walk through below.
Styles & brands we work with
- Raised-panel steel
- Carriage house
- Modern flush
- Full-view glass
- LiftMaster openers
- Chamberlain openers
Table of Contents
- What’s Actually Safe to DIY and What Isn’t
- The Torsion Spring Process and Why It’s Different
- The Real DIY Tool List (and What It Costs)
- The Break-Even Math: When DIY Saves Real Money
- Permits, Disclosure Forms, and Title Insurance
- Openers and Smart Systems: Where DIY Usually Stalls
- Why Lake View Homes Age Door Systems Harder
- How a Professional Job Actually Runs
What’s Actually Safe to DIY and What Isn’t
The line isn’t “simple jobs versus complex jobs.” It’s “jobs where a mistake means a crooked seal versus jobs where a mistake can mean a hospital visit.” Here’s how we sort the work in our experience.
Safe for a competent homeowner
- Weatherstripping and bottom seals. Pulling old stripping and fitting new is a low-risk weekend task. No tension is stored in the seal.
- Painting or staining a wood or steel panel. Surface prep and paint won’t touch the lifting system if you leave the hardware alone.
- Lubricating hinges, rollers, and the tracks. A garage door lubricant on the moving joints quiets a door noticeably and does no harm.
- Safety sensor alignment. If the door reverses on the way down with nothing there, the sensors are usually misaligned or the lens is dirty. Repositioning them within their brackets is fine.
- Cleaning the tracks and wiping down opener track surfaces. Cosmetic upkeep and light cleaning are squarely DIY territory.
- Replacing opener batteries and remote programming. Pairing a remote follows the manual and is reversible.
Requires a trained technician
- Torsion spring replacement or adjustment. High tension, high risk. Covered in its own section below.
- Cable replacement. The cables are under spring tension too. A snapped cable whips with force.
- Bottom bracket and roller bracket work. These attach the door to the lifting system, and some brackets are under load even when the door is down.
- Panel replacement on a tensioned door. Panels are section-connected and alignment matters; swapping one requires understanding how the whole door balances.
- Full door installation. Opening sizing, track plumb, spring matching, and permit compliance all come into play.
- Opener replacement on a modern connected unit. Wiring, force limits, and safety-reverse calibration need to be right.
If you live in a Lake View greystone or brick two-flat with a masonry garage, there’s an additional wrinkle: the rough opening may not be square, which turns a panel swap into a framing question. That’s a professional-side task in almost every case.
The Torsion Spring Process and Why It’s Different
Torsion springs are wound under hundreds of foot-pounds of torque, and releasing that stored energy accidentally is what makes spring work categorically different from every other home repair job. A garage door isn’t a heavy object sitting there. It’s an energy-storage system that’s been balanced to lift a 300-pound door with one hand.
Here’s what the process actually involves, in broad strokes, so you understand what you’d be getting into:
- Door position and bar insertion. The door is brought fully closed, and winding bars are inserted into the winding collar, one holding the spring while the other turns it.
- Controlled unwinding. The set screws are loosened and the spring is unwound a quarter-turn at a time, with the bars swapping roles on every turn. A slip here means a bar flying across the garage.
- Removal and replacement. The old spring comes off the torsion tube, and the correct replacement (matched for wire size, inside diameter, and length) goes on.
- Rewinding with matched turns. The new spring is wound to the specified number of turns – not “until it feels tight.” A wrong turn count throws the whole door out of balance.
- Balance and travel testing. The door gets tested at half-height for balance, and the opener’s force settings and safety reverse are rechecked.
The part that doesn’t translate from video to garage floor is the bar-slip scenario. A winding bar under load doesn’t fall – it launches, and the person holding it is standing directly in its path. Emergency rooms in Chicago see spring-related hand and arm injuries every year, and they almost always involve someone who was following a tutorial at the time. The equipment is specialized, the tools are specialized, and the torque doesn’t forgive a lapse in attention.
A matched pair of springs is usually replaced together, since they’ve cycled the same number of times. When one spring fails, the other is on the same clock. Our garage door repair service handles both spring replacement and the balance check that follows. This is the single job in the whole garage door system we’d steer every homeowner away from.
The Real DIY Tool List (and What It Costs)
Here’s the tool list nobody puts in a tutorial: a real DIY garage door job, done safely, requires more specialized equipment than the average homeowner owns. Before you decide, add up what you’d actually need to buy.
What you’d actually need
- A winding bar set (two bars). One bar isn’t enough. Winding requires two bars working in sequence, and this is a niche tool most homeowners never touch again.
- Cable clamps. Cable work needs clamps sized correctly for the cable diameter, and a mismatched clamp is a failure point.
- A torque gauge or spring scale. To check balance and verify the door’s lift force after any spring work.
- Locking pliers and a proper socket set for the set screws on the spring collar and the brackets on the door.
- A drill with the correct bits for bracket and panel hardware if any attachment points need to move.
- Safety glasses and heavy work gloves. Minimum, not optional.
- A tape measure and a level if you’re touching track alignment, which goes out of true more easily than homeowners expect.
- A ladder solid enough to work from at height, because spring and track work happen overhead.
When the tool cost overturns the math
A single weatherstripping job is a screwdriver, a utility knife, and a new seal. Fine. But the moment you cross into spring, cable, or bracket work, you’re buying winding bars, a torque gauge, cable clamps, and quality hand tools – and if you’re only ever doing this once, that equipment spends the rest of its life in a drawer. On a one-door job in Lake View, the tool spend often erases the labor savings the DIY route was supposed to deliver. We keep the right tools for these jobs because it’s what we do every day, not something you should buy for a single afternoon.
And the technical diagnosis counts as a tool too. What looks like a bad spring is sometimes a broken cable or a mismatched roller, and what looks like a dead opener is often a sensor or a stripped gear. That diagnosis is the part of professional work that rarely makes it into a DIY budget line.
The Break-Even Math: When DIY Saves Real Money
DIY saves real money on cheap, low-risk jobs – and it rarely does on spring, cable, or full installation work, where the labor differential is small against the total job cost. Here’s how the math tends to shake out by task type.
Tasks where DIY genuinely wins
- Weatherstripping: The material is inexpensive and the labor is a couple of hours. A screwdriver and a knife cover it. DIY wins.
- Lubrication and cleaning: A few dollars of lubricant against a service call. DIY wins easily.
- Panel painting: Paint cost plus a weekend. If you’re careful with prep, this one stays in your column.
- Sensor alignment: Usually a matter of repositioning a bracket or wiping a lens. DIY wins unless the wiring itself is pulling loose.
- Remote and battery swaps: The manual is the tool. DIY wins.
Tasks where the differential collapses
- Spring replacement: Price out two winding bars, a torque gauge, and the time, then price out the emergency room risk. The labor saved is a fraction of the true cost.
- Cable replacement: Same logic. The cables run under the spring tension you’re avoiding in the first place.
- Panel or section replacement: The panel has to be matched to the model, the door has to be de-tensioned safely, and alignment has to hold. The skill gap here is wider than the price gap.
- Full door installation: Opening measurement, track plumb, spring matching for the door’s weight, and permit compliance add up to a lot more than the labor line on a quote.
- Opener replacement: The wiring, force calibration, and safety-reverse testing are things a connected LiftMaster or Chamberlain unit expects you to get exactly right.
The other cost that doesn’t show up on a DIY budget is the redo. A botched alignment or a miswound spring means the job has to be corrected by someone else, and that correction usually costs more than the original job would have. In our experience across Lake View, the jobs homeowners end up calling us for after a DIY attempt were rarely the cheap ones to begin with.
What professional work typically involves on the invoice
A written estimate should break out the parts, the labor, and the balance and safety check that follows the repair. If a quote comes in as one lump sum with no itemization, ask for it itemized. Our technicians have up to 10 years of experience and quote the job before anything is touched, so the number on the estimate is the number that gets billed.
Permits, Disclosure Forms, and Title Insurance
An unpermitted garage door installation in Chicago doesn’t just sit quietly in your house – it can surface on a property disclosure form and complicate title insurance at the moment you sell. That’s the part of DIY that gets forgotten, because the job looks finished long before anyone asks whether it was permitted.
How the permit question works
- Ask whether a permit applies. Permit rules vary by scope and by the door. For a full replacement or a new installation, most cities require a permit, so ask your city’s building department what applies to your address before any work starts.
- Note what the permit process actually does. It records that the installation was inspected and that the door and opener meet the applicable safety requirements – particularly the safety-reverse and entrapment protections a modern opener includes.
- Keep the paperwork with your house file. Permits, inspection sign-offs, and the estimate belong with your other home records.
- Disclose accurately at sale. A property disclosure form asks about permitted work and known conditions, and an unpermitted installation that’s identified there can become a negotiation point or a buyer’s inspection item.
- Check title insurance expectations. Title insurance covers title defects and unrecorded issues, and inspectors or title companies can flag unpermitted work as a condition the buyer wants resolved. That resolution usually involves retroactive permitting or a correction job.
None of that means a carefully done DIY patch is a legal problem. It means that installation is different from repair. Repairs don’t typically trigger permit questions; a full door replacement can. If you’re in Lake View and unsure, one call to the city building department answers the question definitively, and a licensed installer will be able to tell you what they’ll pull before the job starts.
This is one of the quieter reasons a professional garage door installation tends to make more sense than a DIY replacement. The work isn’t just the door going up; it’s the record of it being done correctly.
Openers and Smart Systems: Where DIY Usually Stalls
Opener work looks like the most approachable part of a garage door job and often turns into the most frustrating. The reason is that most openers aren’t just motors – they’re calibrated systems with safety-reverse logic, force limits, and (on modern units) network pairing and app setup.
Where homeowners get stuck
- Safety-reverse calibration. The door has to stop and reverse under a specified load, and the settings are adjusted at the opener head. If this is wrong, the door can close on an object or a person.
- Force limit adjustment. Too loose and the door reverses on nothing; too tight and it won’t reverse at all. The correct range is narrow.
- Travel limit setup. The opener has to know exactly where the door’s open and closed positions are, and a mismatched limit causes the door to overrun or under-travel.
- Smart pairing. A LiftMaster or Chamberlain opener with Wi-Fi and app control needs the account, the hub pairing, and the open/close events all working before the homeowner calls it done.
- Legacy compatibility. Older Craftsman and Raynor openers use hardware and remote coding that don’t behave like current units, and the manuals for these are often long gone from the house.
- Stripped gears and worn logic boards. A noisy or unresponsive opener is often a mechanical part, not a dead unit. Diagnosis matters before replacement.
When to replace vs. repair
The honest answer is that it depends on the opener’s age, the door’s weight, and whether the unit is failing in a way that affects safety rather than convenience. A noisy opener with a working safety-reverse can often be repaired. One that fails the reverse test needs to be addressed before the next cycle, not after. We work on LiftMaster, Chamberlain, Genie, and Craftsman openers, which covers most of the units we see in Lake View garages, and we diagnose by brand and model rather than treating every opener as generic. Our garage door opener repair service starts with that diagnosis, and we don’t push replacement when a repair will do the job.
Why Lake View Homes Age Door Systems Harder
Lake View is an old housing stock neighborhood, and the garages here tend to be original or added-on structures behind greystones and brick two-flats. That matters for a DIY decision for a few specific reasons.
Masonry garages and rough openings
A garage attached to a masonry building often has a rough opening that settled over time. Panels that fit a plumb frame perfectly in a spec-sheet drawing can bind in a rough opening that’s slightly out. Older track that’s been in place for decades tends to be slightly out of true too. A careful technician accounts for that; a homeowner working alone on the first attempt usually doesn’t.
Cold-weather cycling and spring fatigue
Chicago winters are hard on spring systems. Cold makes the metal more brittle, and a door that cycles several times a day through a Lake View winter racks up fatigue faster than a door in a milder climate. That’s a reason not to skip the spring check when a door starts sounding different – and a reason a spring repair done wrong in January is a bad place to be.
Alley garages and access
The alley garages common in Lake View are usually tight. Working on a door in a narrow space, with a vehicle in the adjacent spot or a fence at the boundary, is a poor setup for any overhead work. We plan around that when we schedule, and we bring the tools for the job rather than expecting the homeowner to have them.
The local permit layer
Because these garages are often older construction, a door replacement in Lake View tends to raise questions a newer build wouldn’t. If the rough opening is off or the original installation was never documented, the permit process is the right way to resolve it, not a phone call later. When in doubt, call the city’s building department and ask.
We work in Lake View regularly, from the side streets near the Southport corridor to the alley garages around the Broadway and Halsted stretches, and the pattern is consistent: older doors, older openers, and homeowners who want a straight answer about whether to fix it themselves. The answer is almost always “not on this job,” with a small list of genuinely safe exceptions. If you need a repair we’ve covered, our garage door repair Lake View page lays out the full scope of what we handle.
How a Professional Job Actually Runs
Knowing what to expect from a professional job is part of deciding whether it’s worth it. Here’s the general shape of the work.
- Call and describe the symptom. The door’s noise, its position, and what it does when the opener runs all point toward different diagnoses. A good phone conversation narrows it before anyone arrives.
- Free estimate on site. We look at the door, the springs, the track, and the opener, and quote the repair. The price is quoted and agreed before any work starts – no surprises after the job.
- Parts on hand. We carry replacement parts for major brands, which means the common repairs can usually be finished in one visit rather than waiting on an order. That’s the difference between a door that works tonight and a door that works in a week.
- The repair itself. Springs, cables, rollers, panels, and opener hardware all get replaced to spec, and the door gets balanced and tested.
- The final check. Safety-reverse, force settings, and travel limits get verified before we leave. A door we’ve worked on should close on an object and reverse, every time.
We handle the whole door lifecycle – repair, opener service, spring replacement, and new installation – so you don’t end up coordinating between a parts supplier and a separate labor company. A written estimate, a scheduled visit, and one point of contact. For new door and replacement work we measure, order, and schedule; that’s not same-day work, it’s measured work, and you’ll get a written price before anything is ordered.
Common Mistakes to Avoid
- Trying to wind a torsion spring yourself. The most common DIY mistake in this trade is also the most dangerous. A winding bar under tension slips hard and fast, and the hospital visits in Chicago each year come from exactly this.
- Buying the wrong replacement spring. Springs are matched by wire size, inside diameter, length, and turn count. A near-match will fit and still throw the door off balance or fail early. The wrong spring is often worse than a visibly broken one.
- Assuming a noisy door needs a new opener. Most noisy doors are a lubrication or roller problem, not an opener failure. Replace the opener and you’ve solved nothing.
- Ignoring a safety-reverse failure. A garage door that doesn’t reverse when it meets an object is a safety failure and needs attention before the next cycle. Don’t wait for a convenient time.
- Skipping the permit on a full installation. The door works; the paperwork doesn’t. That surfaces at disclosure and title, and it can complicate a Lake View home sale.
- Cutting corners on the balance test. An unbalanced door strains the opener and the spring and wears both out faster. Skipping the half-height balance check after any spring work is a slow-motion mistake.
- Using the wrong lubricant on the tracks. Grease and oil on the track surface attract grit and make things worse. A dry garage door lubricant on the hinges and rollers is the right product; the tracks usually want a clean wipe, not a coat.
Our technicians have up to 10 years of experience, and these seven mistakes show up in almost every correction job we take on. In our experience, most of them come from a homeowner who watched a tutorial and then found a variable the tutorial didn’t mention – a rough opening out of plumb, a spring that wasn’t a match, or a sensor that wasn’t quite lined up.
See the difference
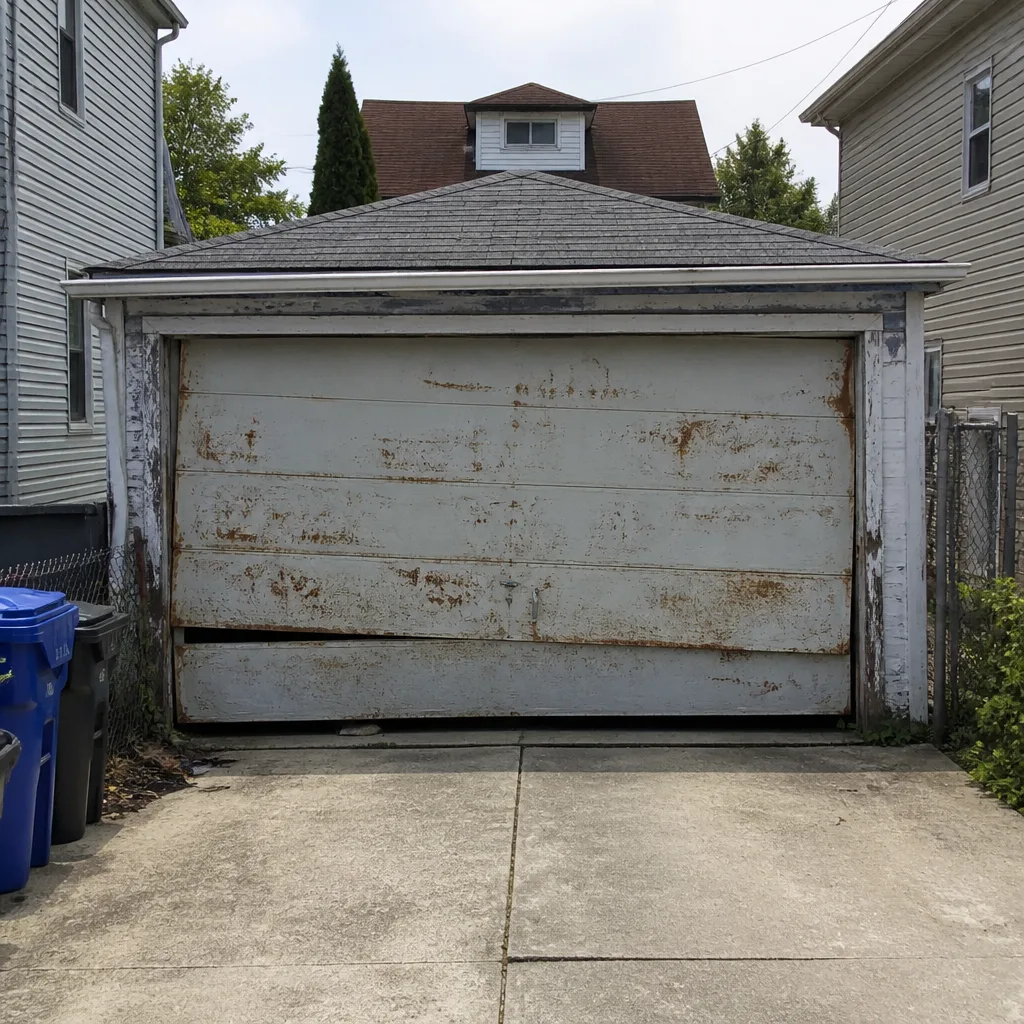 Before
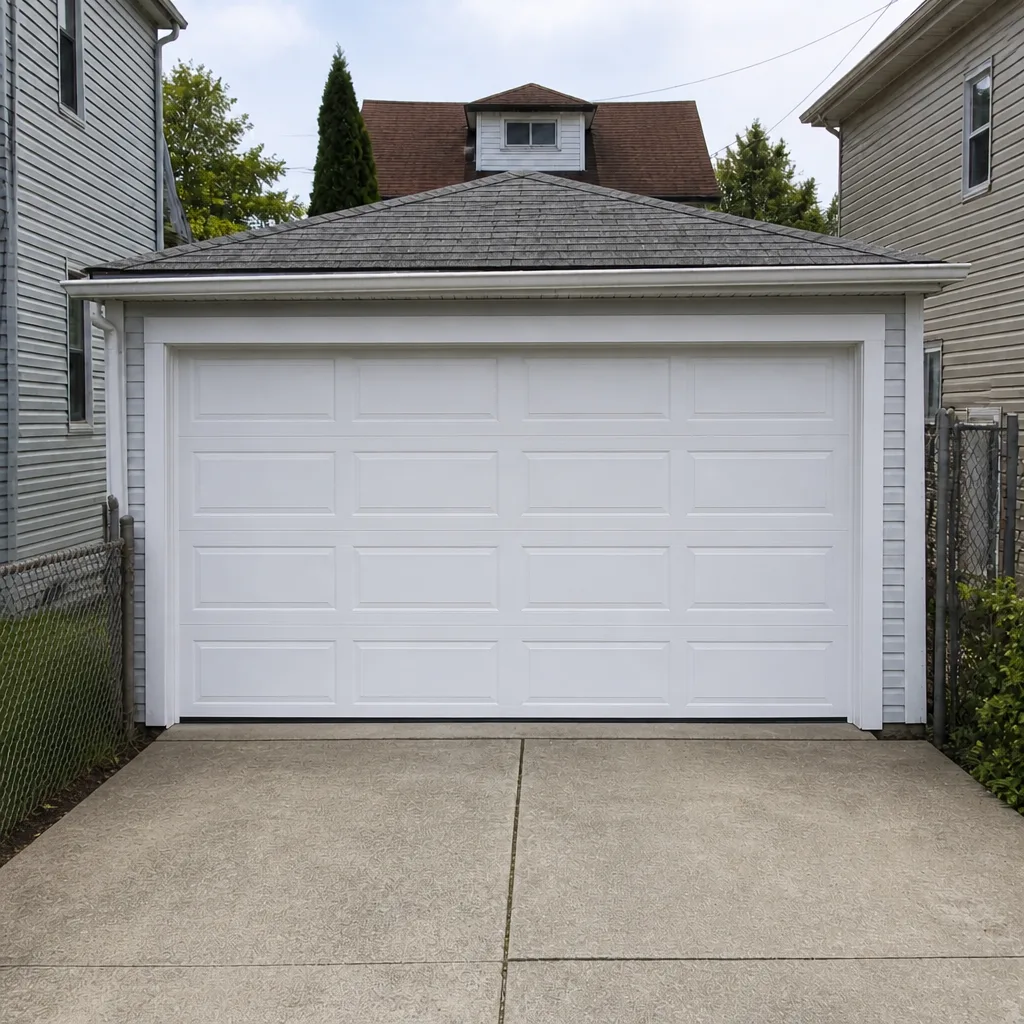 After
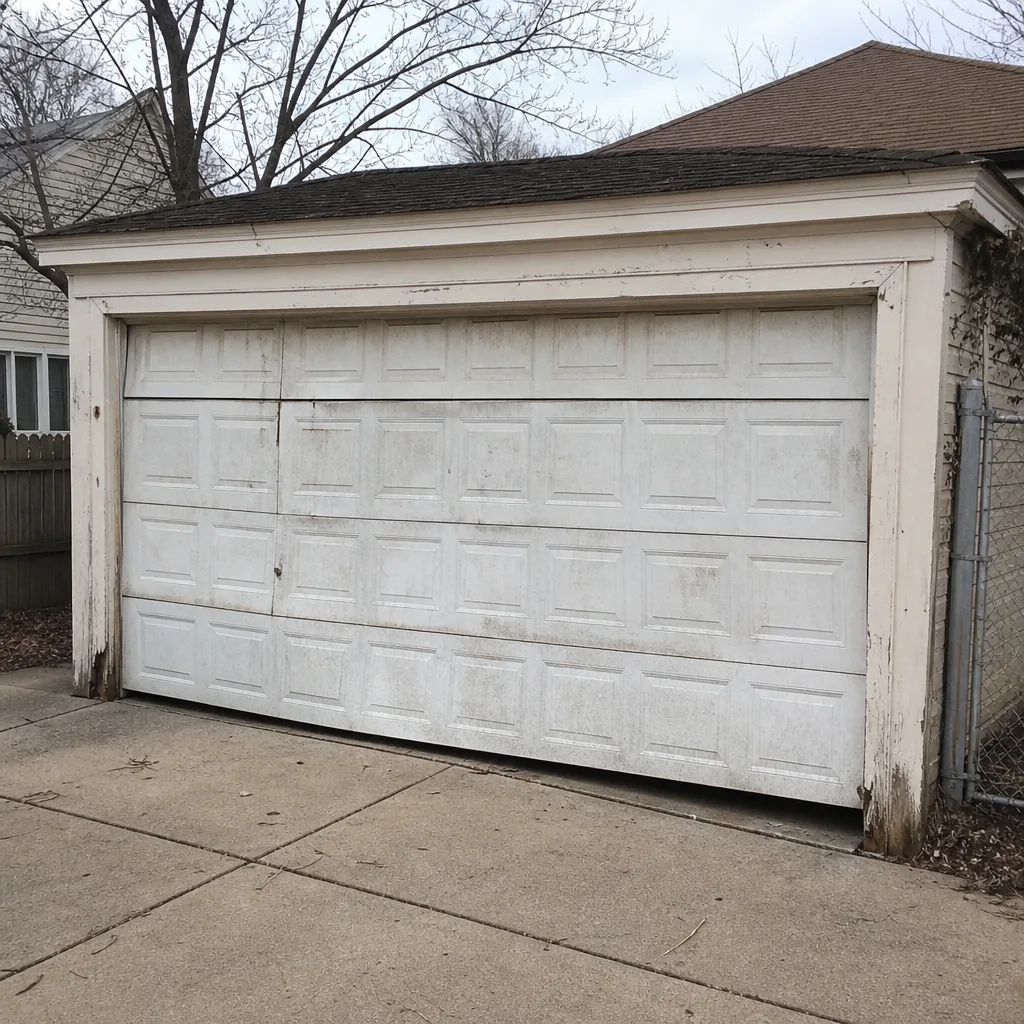 Before
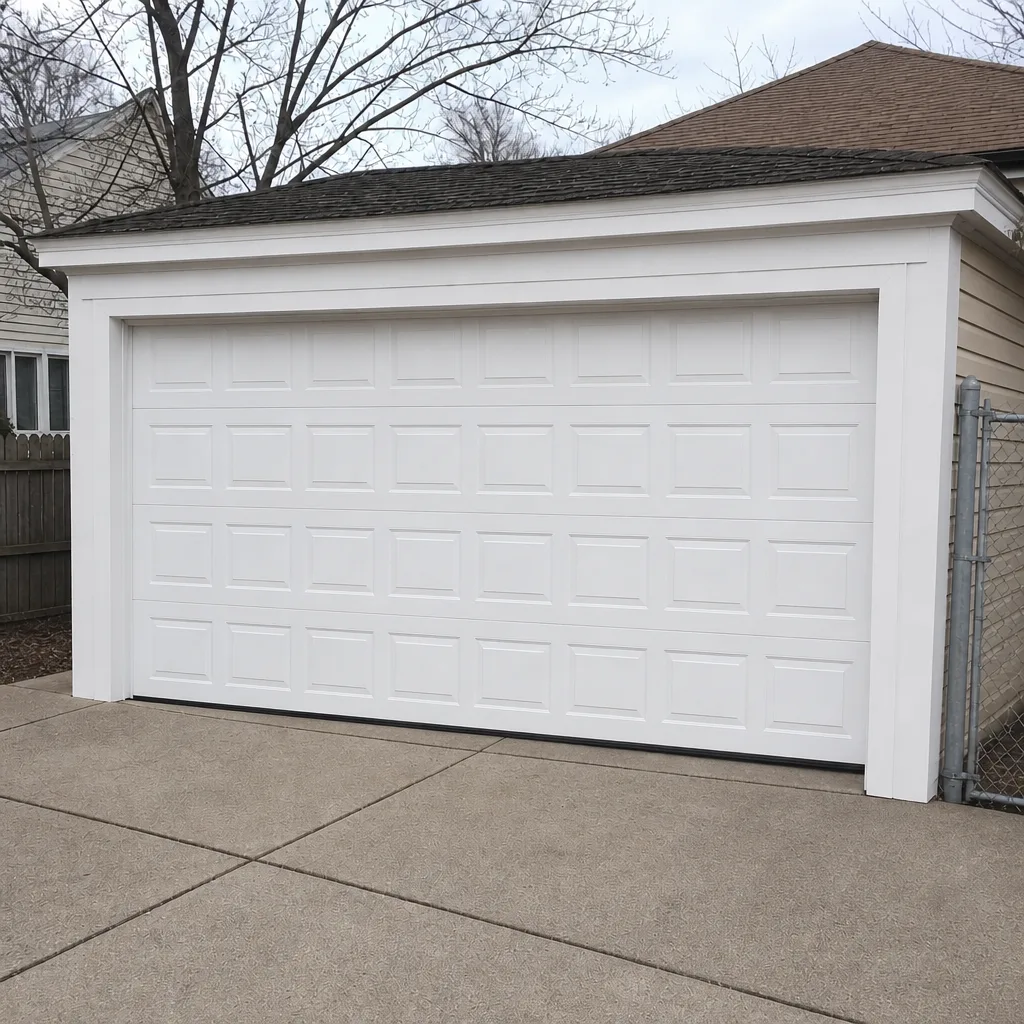 After
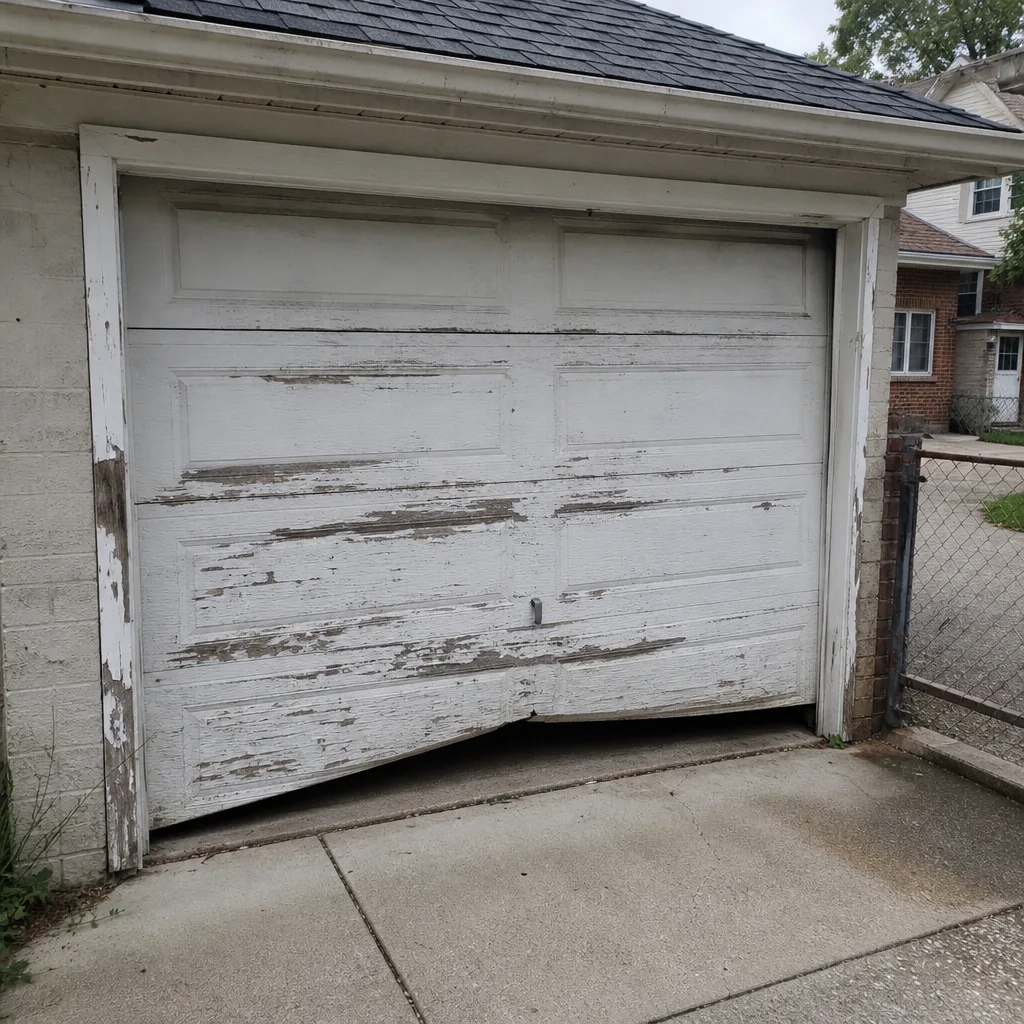 Before
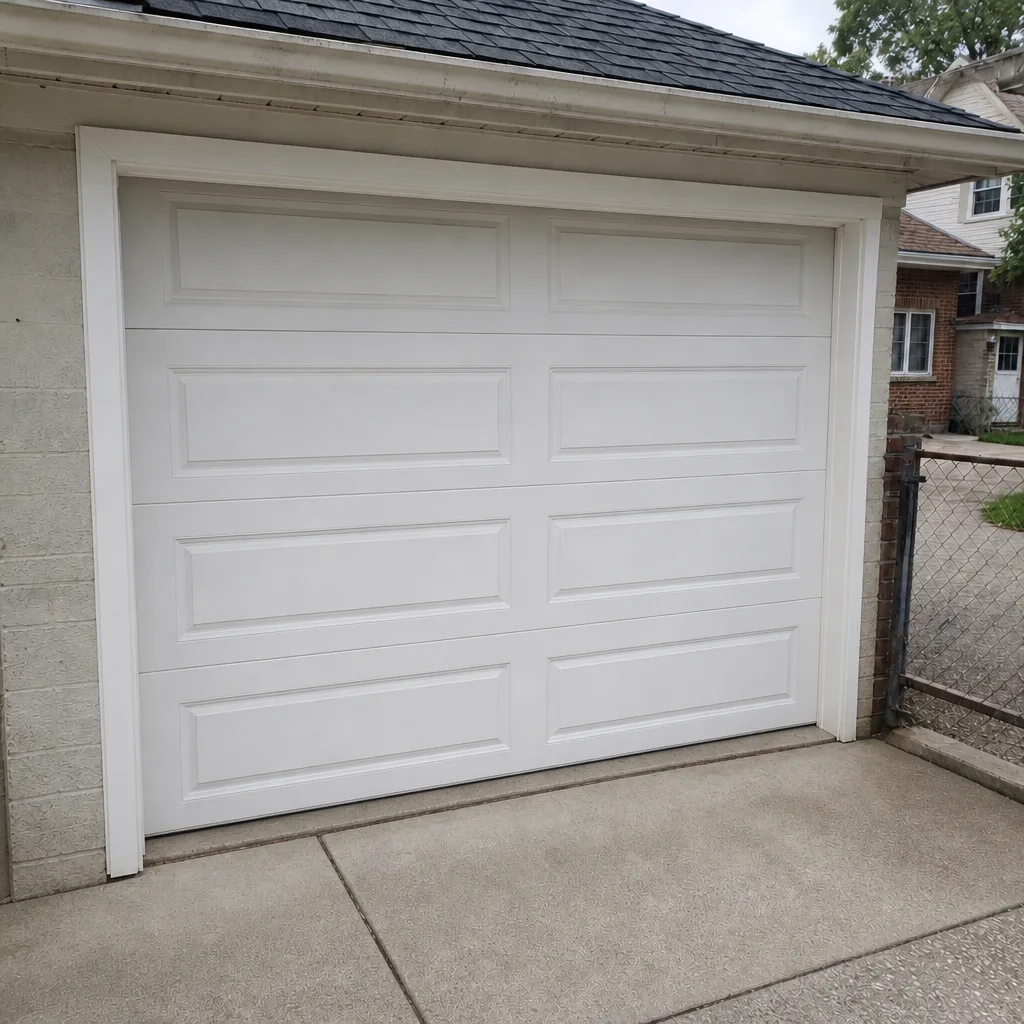 After
When to Call a Professional
Call a professional for torsion spring replacement or adjustment, cable replacement, bottom bracket work, panel replacement on a tensioned door, and full door installations. Call for any opener that fails its safety-reverse test at the correct sensitivity, or that shows a stripped gear or worn logic board. Call if the door is out of balance, if the tracks look bent or out of true, or if you’re not sure what’s wrong and don’t want to guess. The safe-DIY exceptions – weatherstripping, painting, lubrication, sensor alignment, remote programming – stay in your column. Garage Door Repair Lake View offers free estimates in Lake View: call (833) 468-5605.
Frequently Asked Questions
No – torsion spring replacement is not a safe DIY job. The springs are wound under enough torque to launch a winding bar with serious force, and the injuries that follow are common enough that emergency rooms see them every year. A licensed technician has the winding bars, the torque gauge, and the training to do it safely, and our spring repair service is built around that. Call (833) 468-5605 for a free estimate on spring replacement in Lake View.
For a full replacement or new installation, most cities require a permit, so it’s worth asking the city’s building department directly about your address before any work starts. Repairs generally don’t raise the same question; installation work does. A licensed installer can confirm what applies before the job begins. If you’re ready to talk through an installation, call (833) 468-5605 for a free estimate.
Spring repair pricing depends on the spring type, the door’s weight, and whether one or a matched pair is being replaced, so we quote on site rather than over the phone. The written estimate is the price, agreed before any work starts. Call (833) 468-5605 for a free estimate and an exact quote.
No. We quote the repair after we’ve looked at the door, and the price we agree is the price we bill. The on-site estimate exists so the number reflects what’s actually there, not a phone guess that gets revised upward later. Call (833) 468-5605 to schedule a free estimate.
The local professionals we connect you with are licensed and insured as their state requires. We work on the major door and opener brands – LiftMaster, Chamberlain, Genie, Clopay, Amarr, Wayne Dalton, Craftsman, and Raynor – so the technician who arrives knows your system by brand, not as a generic door. Call (833) 468-5605 for a free estimate.
For common repairs like spring and opener issues, our goal is to complete the job on the first visit, which is why we carry replacement parts for major brands rather than waiting on an order. What we can confirm same-day depends on the diagnosis and our schedule, so call (833) 468-5605 and we’ll tell you what’s available. New door installation is measured, ordered, and scheduled, not same-day work.
The Bottom Line
The DIY versus professional garage door question in Lake View isn’t really a money question. It’s a physics and liability question. Weatherstripping, painting, lubrication, and sensor alignment stay in your column – do those. Springs, cables, brackets, panel swaps, and full installations belong with a licensed technician, because the energy stored in the system doesn’t forgive a mistake and because the permit record matters at sale. The tool cost usually erases the labor savings on any job beyond the simple ones anyway. When the job crosses that line, one call covers the diagnosis, the repair, and the record – with the price agreed before any work starts.
Ready for a free estimate? Call Garage Door Repair Lake View at (833) 468-5605. We’ll talk through the symptom, quote the repair on site, and tell you honestly whether it’s a job for us or one you can safely handle yourself.
Written by the team at Garage Door Repair Lake View.